
Introduction
French nail art has made a stunning resurgence in recent years, captivating nail enthusiasts with its timeless elegance and versatility. This classic style, once synonymous with understated chic, is now a canvas for creativity and personal expression. As spring approaches, the season’s vibrant colors and floral motifs inspire a fresh wave of DIY nail art projects that allow you to showcase your personality. Imagine adorning your fingertips with pastel hues and nature-inspired designs, all while enjoying the satisfaction of crafting your own unique look.
Incorporating spring-inspired designs into your French manicure not only updates the classic style but also encourages you to unleash your creativity. Whether you’re a seasoned nail artist or a beginner looking to try something new, there’s no better time to experiment with colors and patterns that reflect the beauty of the season. What are your favorite spring colors or motifs? Are you drawn to soft pastels, blooming florals, or perhaps the vibrant greens of nature? Let’s explore how you can transform your nails into a spring masterpiece!
“Creating a cozy reading nook is all about maximizing comfort in a small space. It’s about intentional design that serves both function and feeling.”
– Interior Design Magazine
The Basics of French Nail Art
French manicure, characterized by its clean lines and elegant tips, has a rich history that dates back to the 18th century. Originally designed to create a natural look for the nails, it has evolved into a versatile style that can be adapted to suit any occasion. Traditionally, French nails feature a nude or pale pink base with white tips, but modern interpretations allow for endless variations, including colorful tips and intricate designs.
To embark on your French nail art journey, you’ll need a few essential tools. These include a good quality base coat, nail polish in your chosen colors, a fine brush or nail art pen for precision, and perhaps some dotting tools for added creativity. Before diving into your nail art project, it’s crucial to ensure your nails are healthy. Proper nail care, including filing, buffing, and moisturizing, sets a solid foundation for any nail art.
Choosing Your Spring Palette
When selecting the perfect spring palette for your nails, consider the colors that resonate with the season. Soft pastels like lavender, mint green, and blush pink evoke the gentle awakening of spring, while bolder shades such as sunny yellows and vibrant corals can make a striking statement. Each color carries its own meaning: for instance, green symbolizes renewal, while pink represents love and joy.
To choose colors that complement your skin tone, consider testing shades on your nails before committing. For warm skin tones, opt for colors with yellow or golden undertones, such as peach or coral. Cooler skin tones often pair well with colors that have blue undertones, like lavender or baby blue. Additionally, don’t be afraid to mix and match colors for a unique look that embodies your style.
Here are some recommended nail polish brands known for their vibrant spring collections:
| Brand | Best Spring Colors | Finish |
|---|---|---|
| OPI | Pastel Pink, Mint Candy Apple | Creamy |
| Essie | Peach Daquiri, Lilacism | Shimmer |
| China Glaze | For Audrey, Light as a Feather | Glossy |
Spring-Inspired Nail Art Designs
When it comes to spring-inspired nail art designs, the possibilities are endless! Floral motifs are a timeless choice, allowing you to create blooming flowers on your nails. To achieve this look, start with a solid base color and use a fine brush to paint petals in varying colors. A simple daisy or a more intricate rose can add a touch of elegance.
Pastel gradients are another delightful technique that captures the essence of spring. Using a makeup sponge, gently dab two or more colors on your nails for a blended effect. This technique creates a soft transition that mimics the beauty of a spring sunset.
Geometric shapes have also made their mark in nail art trends. Incorporate trendy patterns into your French tips by using nail tape to create clean lines. Experiment with triangles or stripes in complementary colors to add a modern twist to the classic look.
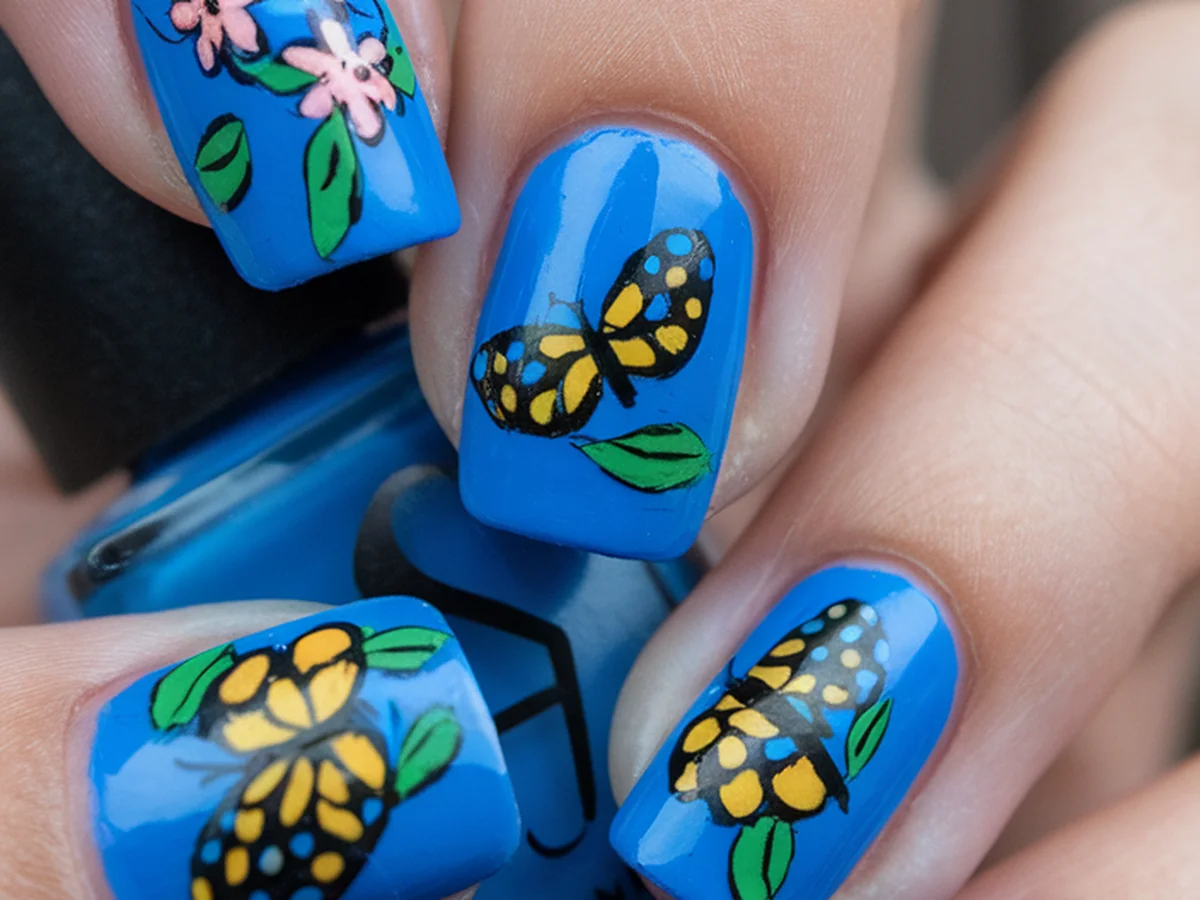
Lastly, consider nature-inspired elements such as leaves or butterflies. These designs can be easily painted or stamped onto your French manicure, adding a whimsical touch that celebrates the beauty of the outdoors.
Step-by-Step DIY French Nail Art Tutorial
Ready to create your own spring-inspired French nail art? Here’s a step-by-step tutorial to guide you through the process:
1. Preparing Your Nails: Start by filing and buffing your nails to create a smooth surface. Follow this up with a primer to protect your nails and enhance polish adhesion.
2. Base Coat Application: Apply a thin layer of base coat to each nail and allow it to dry completely. This step is essential for a long-lasting manicure.
3. Creating the French Tip: Using a thin brush or nail art pen, carefully paint the tips of your nails with your chosen color. For a classic look, opt for white; for a modern twist, try a vibrant color. Allow the tips to dry before moving on.
4. Adding Spring-Inspired Designs: Once your French tips are dry, use your fine brush to add your desired spring motifs. Whether it’s flowers, geometric shapes, or nature elements, let your creativity shine!
5. Finishing Touches: After all designs are complete, seal your nail art with a top coat for added shine and durability.
Nail Art Tools and Techniques
To achieve stunning DIY nail art, you’ll need the right tools and techniques. Here are some essentials:
– Brushes: A variety of brushes, including fine detail brushes and flat brushes, can help you create intricate designs and clean lines.
– Dotting Tools: These are perfect for adding polka dots or small details to your designs.
– Sponges: Makeup sponges are excellent for creating gradient effects and blending colors.
– Nail Tape: This is a must-have for achieving sharp, clean lines when creating geometric designs.
If you want to take your nail art to the next level, consider nail stamping. This technique involves using specially designed plates to transfer intricate designs onto your nails. It’s an excellent way to achieve professional-looking results at home.
Finishing Touches: Sealing Your Nail Art
Sealing your nail art is crucial for longevity and a polished look. A good top coat will protect your designs from chipping and enhance shine. You can choose between quick-dry or regular top coats, depending on your preference. Quick-dry top coats are fantastic for those on the go, while regular top coats often provide a thicker, glossier finish.
To achieve a clean look, use a small brush dipped in nail polish remover to clean up any excess polish around the nail bed. This step is essential for a professional finish.
To maintain your DIY nail art, consider applying a fresh layer of top coat every few days. This will help protect your designs and keep your nails looking fresh.
Inspiration and Trends for 2025
As we embrace spring 2025, nail art trends continue to evolve, with exciting designs emerging each season. Current trends include vibrant ombré styles, metallic accents, and even 3D embellishments. Social media platforms like Instagram and Pinterest are fantastic resources for finding inspiration. You can discover new techniques, color combinations, and nail art styles that resonate with your personal taste.
Don’t hesitate to share your creations online! Using specific hashtags can connect you with other nail art enthusiasts and showcase your designs to a broader audience. Staying current with nail art trends not only keeps your style fresh but also inspires others in the community.
Community and Resources
Joining a community of nail art enthusiasts can enhance your experience and provide valuable resources. Online platforms such as Reddit and Facebook have groups dedicated to nail art where you can share your work and learn from others. YouTube channels like “Nail Career Education” and “CutePolish” offer excellent tutorials and tips for nail art enthusiasts of all skill levels.
Additionally, consider downloading apps like “NailSnaps” or “Nail Art Gallery” for inspiration and tools to create your designs. If you’re looking to hone your skills further, local workshops or classes can provide hands-on experience and expert guidance.
Conclusion
Spring-inspired DIY French nail art is a beautiful way to celebrate the season while expressing your creativity. By experimenting with colors, designs, and techniques, you can create a unique look that reflects your personal style. Don’t be afraid to step outside the box and try new things—your nails are a canvas waiting for your artistic touch!
I encourage you to experiment with different designs and share your experiences with others. Whether you post your creations on social media or show them off to friends, your art can inspire others to explore their creativity. So grab your nail polish, gather your tools, and dive into the world of DIY nail art! Try something new this spring and share your masterpiece using the hashtag #SpringNailArt2025!
Frequently Asked Questions
What is a French manicure?
A French manicure is a classic nail art style that features a nude or pale base color with contrasting white tips. It is known for its timeless elegance and versatility, making it popular for both casual and formal occasions. Over time, the French manicure has evolved, allowing for creative interpretations that incorporate various colors and designs.
How can I make my DIY nail art last longer?
To extend the longevity of your DIY nail art, start with a good quality base coat and finish with a top coat. Reapplying the top coat every few days can help maintain shine and prevent chipping. Additionally, avoid using your nails as tools, and protect them from harsh chemicals by wearing gloves during household chores.
What are some popular spring colors for nail art?
Popular spring colors include soft pastels like lavender, mint green, and baby pink, as well as vibrant shades such as coral and sunny yellow. These colors reflect the fresh and lively spirit of spring, making them ideal for seasonal nail art. Choose colors that complement your skin tone for the best results.
Can I do nail art on short nails?
Absolutely! Nail art can be done on nails of all lengths. In fact, short nails can be a great canvas for intricate designs, as they often require less detail and can be easier to manage. Consider simple patterns or minimalist designs that showcase your creativity without overwhelming the nail.
Where can I find nail art inspiration?
Nail art inspiration can be found on various platforms, including Instagram, Pinterest, and YouTube. Follow nail artists and beauty influencers to discover new trends and designs. Additionally, nature, fashion, and art can provide great ideas for your next nail art creation. Don’t hesitate to experiment and develop your unique style!